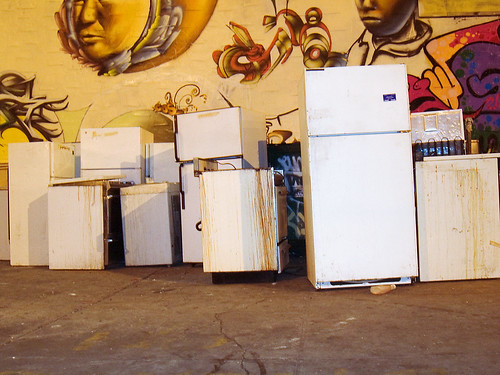
The kitchen is one if the best places you can invest a little money and see a great return for your efforts. Although $100 does not seem like it could go along way, you would be surprised. Updating your kitchen dramatically can be accomplished for under $100 with one of the most affordable options in any room décor: paint. Nothing dates a kitchen more than olive green or mustard gold appliances. A little appliance paint will go along way. Although appliance paint may not be the final solution for updating your kitchen, it is a great project that can be done on a minimal budget and you don't have to worry about making your brown 1970's appliances look any worse than they already do.
Appliance paint can be applied to almost any appliance in your kitchen. It works well on everything from the microwave to the refrigerator. Appliance paint comes in heat resistant durable finishes that if applied properly will do a lot to update your kitchen visually.
You can find appliance paint in a variety of applications. I personally have found that spray on appliance paint in a can is the easiest form of this product to use. It sprays on just like a traditional spray paint in a can and dries within 24 hours. Spray can appliance paint eliminates worrying about visible brush strokes and produces an even, smooth, and professional looking coat of paint on your kitchen appliances.
Where to Buy
Appliance paint can be bought local at your home improvement store or hardware store. If you are having trouble locating appliance paint you can find it on line at sources like: www.onecoat.com and www.appliance-warehouse.com. You could also contact local contractors in your area and ask them if they have ever purchased appliance paint before and what their local sources are.
How to Apply
To update your kitchen with appliance paint you will need to first unplugged your appliances and pull them away from the wall. Next, you will need to thoroughly clean the outside surfaces of your kitchen appliances. I suggest an ammonia based cleaner that will dry clean. This is an important step because appliance paint cannot adhere properly if the surface is greasy or grimy. I also recommend painting them outside. This eliminates the need to have to cover every other surface in your kitchen to protect it from the spray on appliance paint.
Now that your appliances are clean you are ready to apply the paint. All appliance paints will have their own directions specific to their product, but generally you can expect to:
1. Make sure you store you appliance paint at room temperature.
2. Shake can vigorously until the agitator ball is heard. Continue shaking up and down for at least three minutes.
3. Apply light even coats. You will want to hold the can of appliance paint about 1 foot away form the surface you are painting.
4. Apply 3-4 coats for the most coverage and protection.
5. Allow 15 minutes between coats.
6. Allow to dry for 24 hours before return appliances to their original positions.
Cost
On average I have found that one can of appliance spray paint will cost you about $19.99. Once can will not go very far though. It should take you about three cans to cover a large refrigerator. One to two cans for a microwave or dishwasher front. If you are going to spray an entire washer or dryer you should allot at least three cans for reach one. To save money on built in appliances you could opt to only paint the visible areas.
Tips
If you are painting a stove or any kitchen appliance that will become hot or exposed to extremely high heat temperatures you need to make sure you purchase heat resistant paint. While appliances like a refrigerator can use almost any appliance type paint, a stove will need a more specific product. You should see heat specifications clearly labeled on the product. If it does not clearly say that it is heat resistance do not use it.
If applying your own appliance paint seems a little to daunting of a DIY home improvement project, you can always hire a professional to apply it. While this will cost you more than $100, it will be a lot less expensive than all new appliances.
Visit these sites for more informataion http://www.qualityappliancerepairs.com/appliance-repair-las-vegas/ or http://www.qualityappliancerepairs.com/appliance-repair-in-chicago